Creating Emails
There are multiple ways to send emails using Fit Studio Manager: individual client, from class roster, group emails, system emails and scheduled trigger emails. All of the ways to send an email are started by creating the email you wish to send.
Creating Email Categories
As you use the software, you’ll find it useful to categorize your email templates as this will allow you to find emails quicker. To create email categories go to Settings ⇾ Categories ⇾ Message Categories.
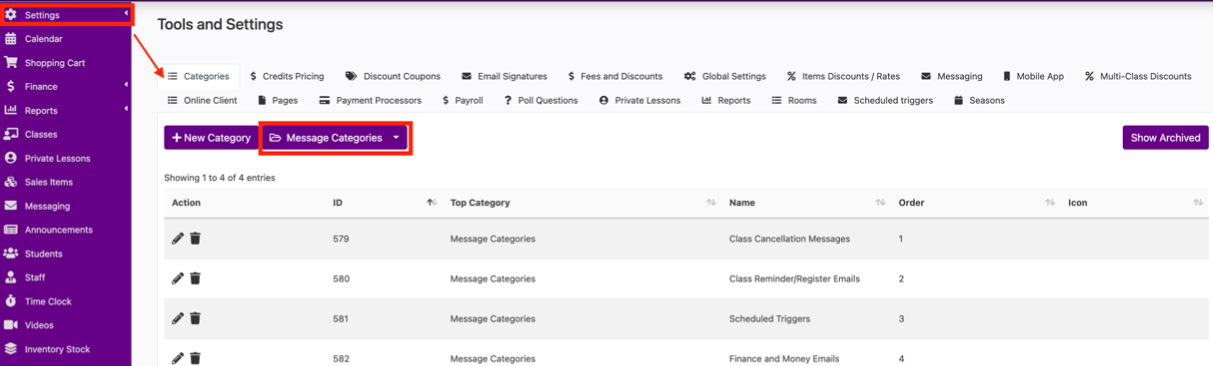
Displayed are the existing message categories in your software and the ability to add more, archive or edit.
Click on the pencil icon on the left side of any existing message category to edit it. Click on the trash can to archive (not delete) any existing message category.
View archived existing message categories by clicking “show archived” in the upper right. Reinstate an archived message category by clicking the arrow next to it and then it will appear on the active list.
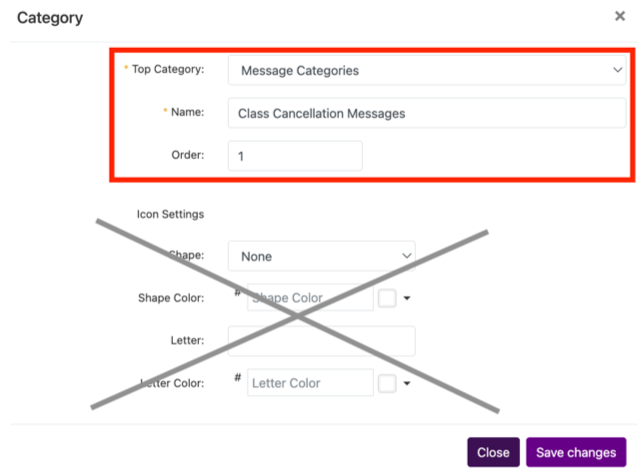
Top categories: Message Categories
Name: what you want it called
Order: where you want it to appear in the list of message categories throughout the software.
Icon settings – ignore. This doesn’t apply to message categories.
“Save Changes”
Your message category is now updated or created.
Creating Email Signatures
An email signature is what appears at the bottom of your message. You can create multiple of these in the software so that you can attach them to different emails.
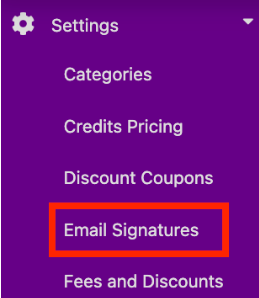
Settings ⇾ Email Signature
If you don’t see “email signatures” the group permission isn’t turned on for that log in. From a log in with group permissions editing privileges: settings ⇾ group permissions. Then under the set-up tab scroll down to setting and check the email signatures box and save. The log-in that didn’t have it originally but was now added will need to log out and log back in to see the new option available under settings.
After opening the email signature tab, click “add new” on the right.
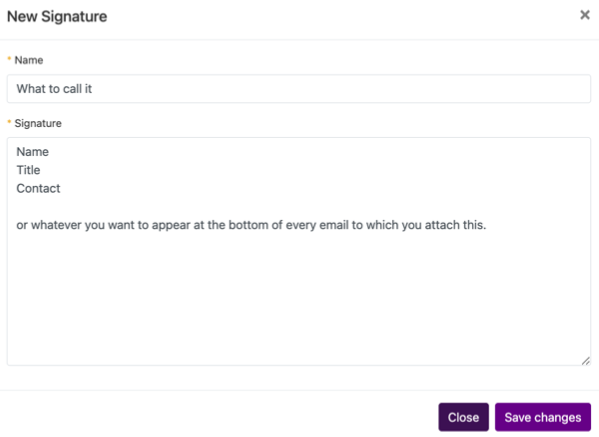
Name the signature so you can identify it when attaching to an email.
Add whatever text you want to appear in the box.
Save changes. And you signature is now available to attached to messages.
From the email signature tab showing the list of signatures you have created, the far left column under “action” has two icons. lick on the pencil icon to edit an existing signature or the trash can to archive a signature.
Creating an Email
From the left side menu click “Messaging”
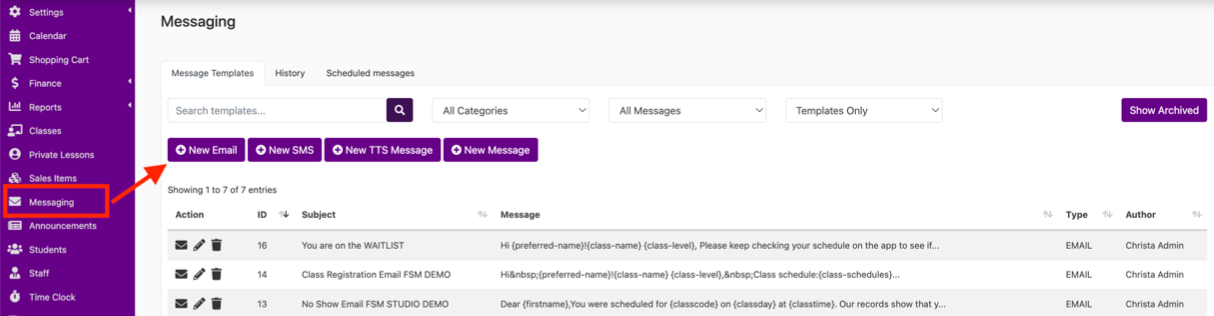
Click “New Email” to create a new email and a box will open to create your new message.
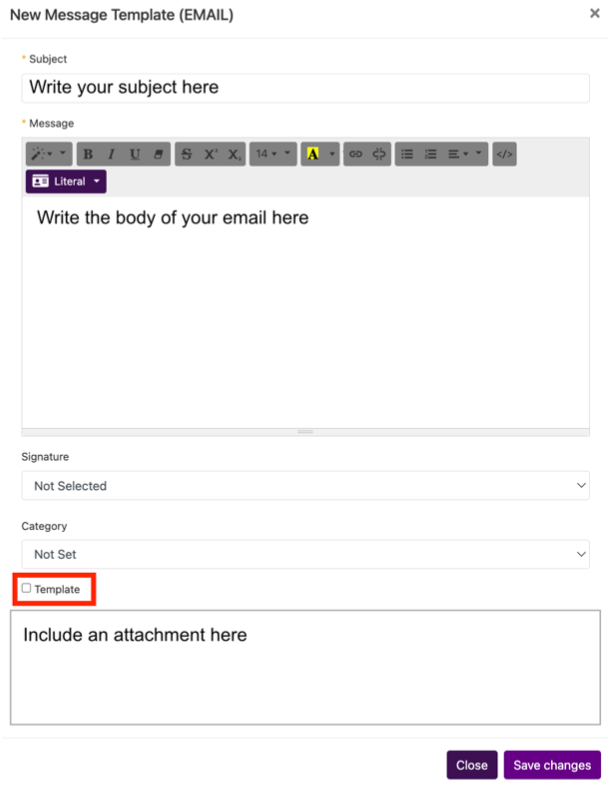
In the Subject box, type what you want the subject of your email to be. The client will see this, this is also how you will find the email in the future.
Large text box is for you to write your text.
Use the formatting buttons to make your text in the text box look like you want.
Insert literals into your message, software generated information.
Select the signature you have already created and want to appear at the bottom of this email
Select the category you have already created to help filter and find this message quickly.
Check Template if you want this email to be available in other parts of the system. Keep unchecked if this is a one-off sending email that you plan to send from the messaging tab only.
The bottom box allows your you to include an attachment in the email. This can be a jpg or pdf file type. Click on the box to select a file or drag one to attach.
Save Changes and your email is ready to use.
Finding an email
On the messaging tab you’ll see filters at the top. If you didn’t check the “template” box when creating an email it would show in the initial messaging screen because “templates only” is the default filter. Change the filters to find your message.

Editing an Email
After you’ve created an email you can edit it by clicking the pencil icon next to the message in your messaging tab list.
![]()
This will open the dialog box with that message to make any changes then save.
Archiving an Email
Messages are never deleted, only archived.
Archive a message by clicking the trash can next to it on your messaging tab list.

View archived messages by clicking the “view archived” button on the right side of the messaging screen.
