Emailing Groups of People
Emailing groups of students is easy with Fit Studio Manager.
Create and assign member categories to clients, these will be used for group messaging.
Go to the messaging in the left side menu and create the email you wish to send. Select the message for sending by click in the envelope icon from the messaging list.
![]()
A dialog box will open. You cannot EDIT the message from this box, so make sure the message you clicked on is exactly as you want to send it.
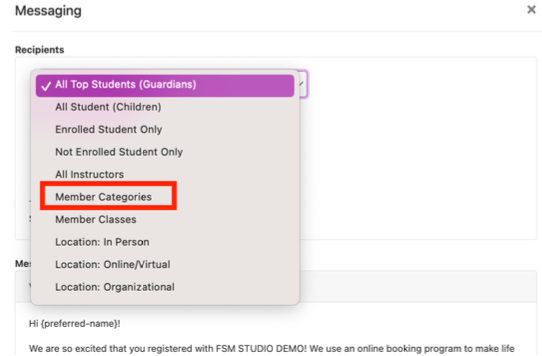
From the recipients drop down select “member categories”.
Or select one of the other ways your clients are organized by the software. We find Member categories to be the most used so it is the focus of the help guide but the steps following are the same for all the groupings.
Select the member categories by checking the box next to each you want to include.
Then click LOAD and this will bring up all the clients that qualify for this email based on your selections.
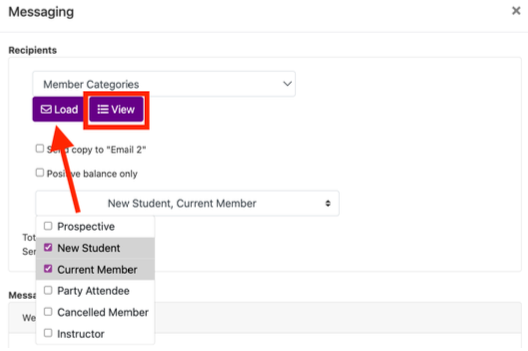
If you click view, you’ll see a list of clients that fit the parameters selected and will be sent the email. From the list, click the x under action column to remove someone from this emailing. Then click close.

Total shows how many emails are loaded to be sent the message.
Sent shows how many were sent the email after you select “start sending”
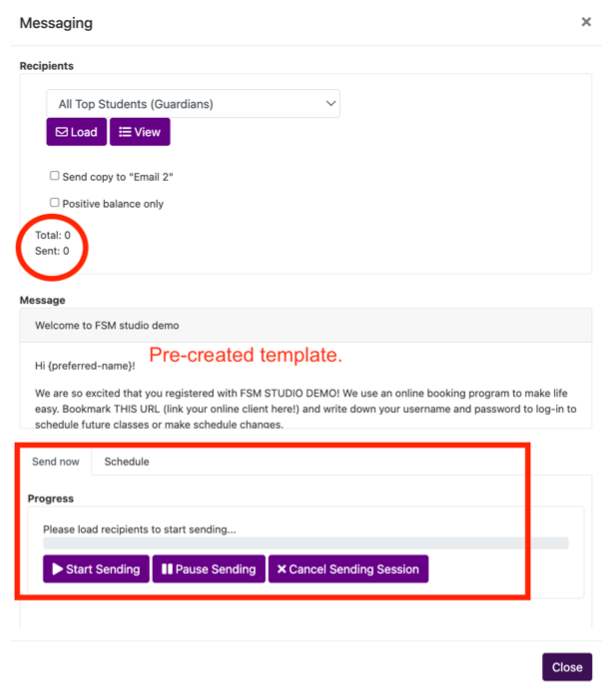
The start of the pre-created message will be seen so you know what you’re sending.
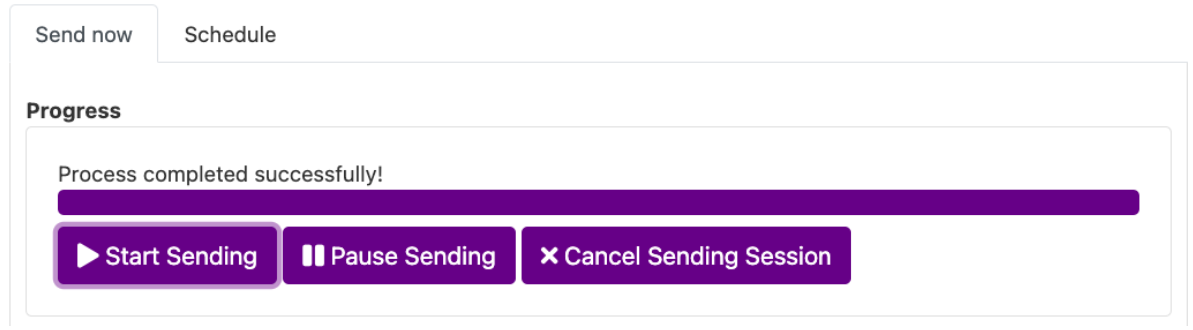
The Progress box is where you SEND the email. Click “start sending” to send out our message.
You can also click the schedule tab and set a specific date for your message to be sent.
A progress bar will show how sending is progressing. And after your message has sent, it will show it has been completed successfully.