Online Room Booking
Fit Studio Manager allows direct online room booking. This means the admin sets the times and rooms that can be booked on the back end, then the Online Client shows this for students to select times to rent/reserve a room.
Initial Settings Needed
Left side menu, settings ⇾ rooms.
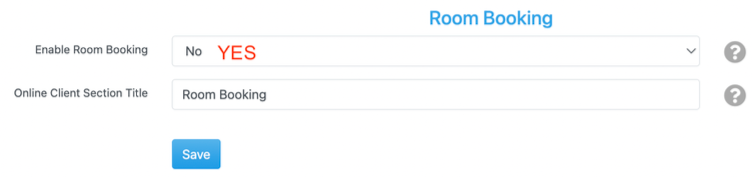
Change “enable room booking” from no to YES.
Online Client Section Title can be changed to whatever you want visible to clients to select this feature from the Online Client.
Once you save and the screen reloads you’ll see “default room availability” at the bottom. If there are standard times you want the room available you would enter them here to be able to quickly copy and paste to the room. Click the Green + to add time windows and the red X to remove a time previously created.

Create Sales Items
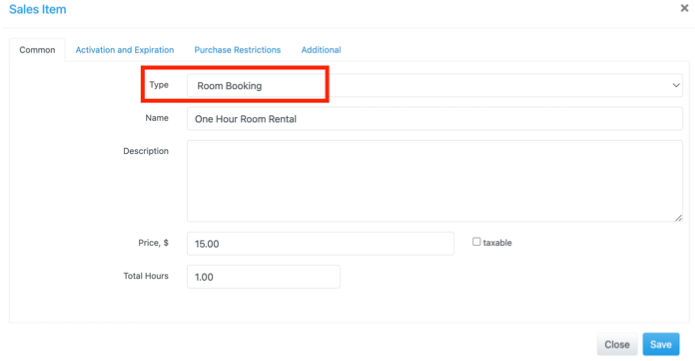
Go to sales items and create the sales item that will pay for your room booking. Change the “type” to ROOM BOOKING to activate in this feature.
Set the price and duration (time in hours)
Create Room for Online Booking
Either add these steps to an existing room or create a NEW room for your online room booking.
Go to Settings ⇾ Rooms and either click the pencil to edit an existing room or “add new” to create a new room.
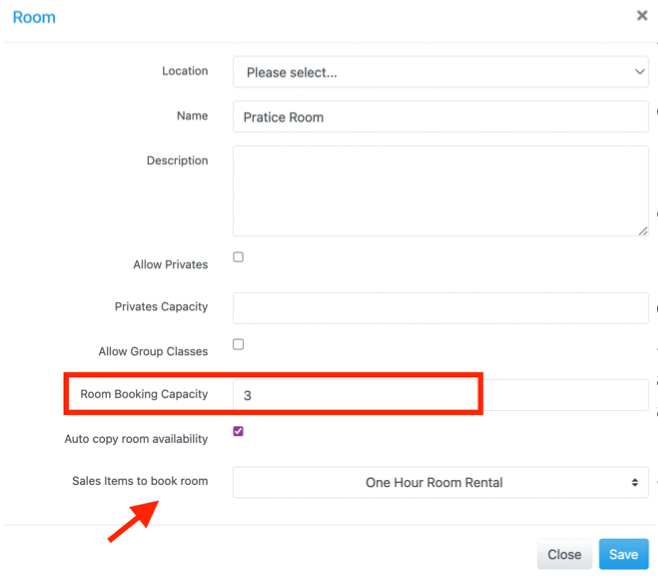
Select the location.
Name the room and add description
Does this room also allow privates and group classes? If so check the appropriate boxes. FSM will not allow a room booking during a scheduled class or private lesson.
Select “auto copy room availability” if you want the default availabilities you created to auto populate far in advance.
Select all sales items that can be used to pay for room bookings.
Room Booking Availability
After you’ve created the room and saved click the second icon next to it that looks like a calendar.

This opens the interface to set room availability.
Under the “default availabilities” tab click the orange button to paste over your defaults set on the room booking. Add more times for this room by clicking the Green + and remove times by clicking the Red x.
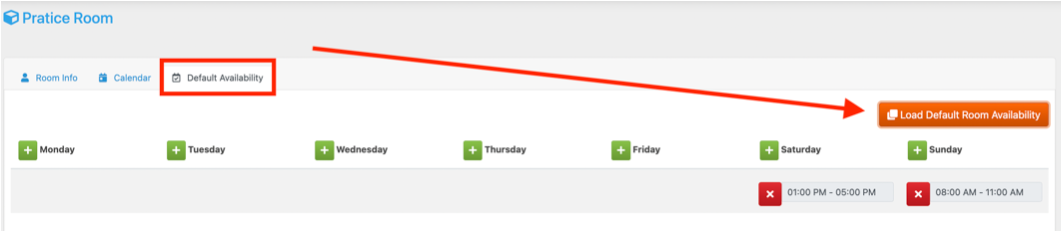
If you selected “Auto copy room availability” these times will be auto populated to all the weeks going forward.
After you’ve set your default availabilities, go to the calendar tab and click the orange “copy default availability” button to transfer over what you already inputted.
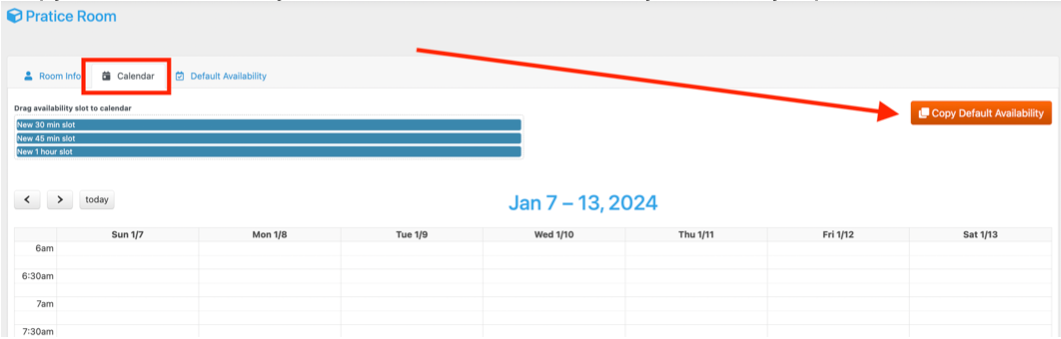
Use the blue time slot options to add more times to your calendar for any given week.
Online Client View and Use
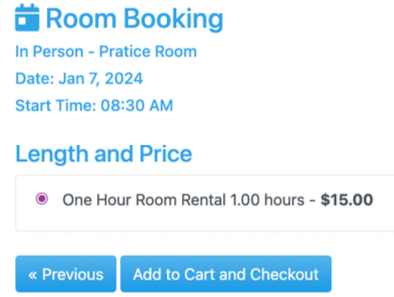
After you’ve created your room and set your times check that everything is looking how you want on the Online client. Log in as a student. Then you’ll see the new “room booking” (or whatever you named it) tab.
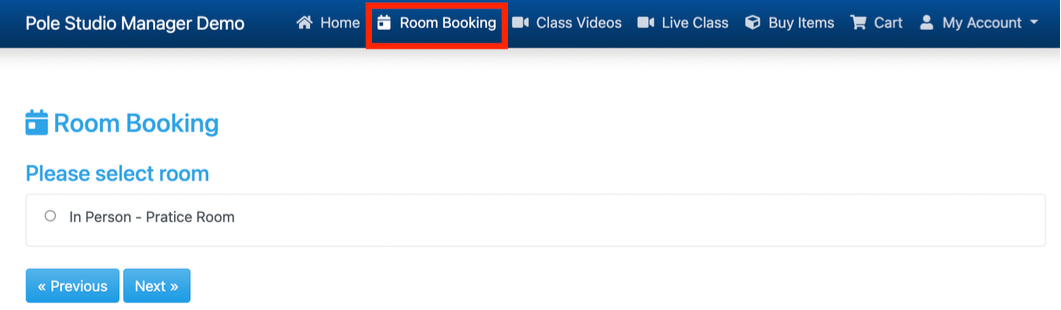
Select the room. Then select the time slot.
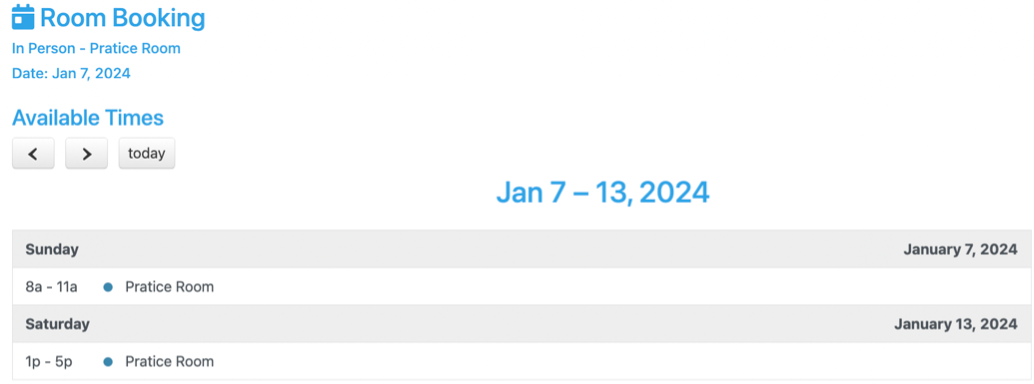
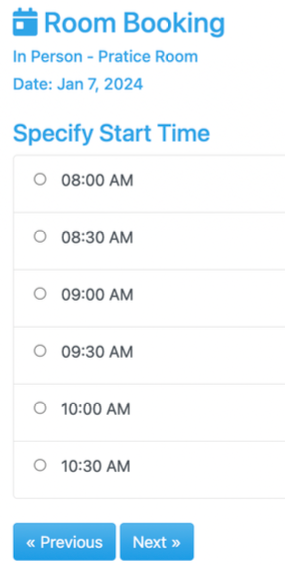
Then select the detailed time slot (these display in half hour intervals automatically).
Then select the sales item which will decide the duration of your room rental. Add to cart and checkout.